Ten Steps to Make the Perfect Jack-o’-lantern | Super Easy | Doctors Hate It
November 12, 2021
Some tools you’ll need for the perfect jack-o’-lantern: a knife, a saw, and a hammer (yes, the hammer sitting in the dusty corner of your garage that the spider claimed three years ago).
Step 1: Make sure your pumpkin is on an uneven surface at all times; this produces the best results.
Step 2: Lay down some old newspapers to keep the surface clean while carving the pumpkin.
Step 3: Use the saw to cut the pumpkin in half. Make sure both halves of the pumpkin are exactly the same size.
Step 4: Scoop up all the gross inside stuff using the knife and dump them out the window. If there is no window, feed it to your pet.
Step 5: Tape the pumpkin back up using Flex Tape. Now you’re ready to carve it.
(Steps 3 to 5 are necessary to avoid the circle on top of the pumpkin.)
Step 6: Get a marker to draw out the design you would like on a piece of paper.
Step 7: Use the knife to carve out the design on the pumpkin.
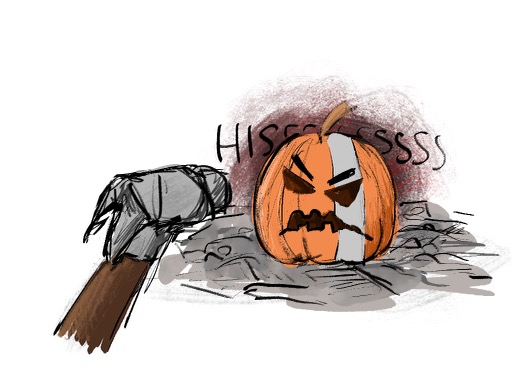
Step 8: Use the hammer to get the finer details of the design. Be careful when hitting the pumpkin; it may attack you.
Step 9: Light the candle scented “MMM, BACON!” from Yankee Candle and put it inside the pumpkin.
Step 10: Put the pumpkin outside with that bucket of candy that has the sign, “Please only take one piece.”


